 I thought that I saw this on Just a Girl...but when I went to link it, I couldn't find it...so if this is someone else's wonderful project..so sorry (I know that it's been around since the dark ages, but I like to give credit where credit is do!) Please don't think we have glitzy dust in our house...I need to spray it with something better to keep all that pesky stuff on!
Start with an old magazine (this one was a Women's Day from the 1900's..funny huh!), but the best one was an old IKEA catalog that got shoved in our junky bookcase....perfect pages, great size!

Anywhoo....fold the right hand corner down into the spine of the magazine, every page....break the spine as you go, folding it open really good (this will help it "round" out in the end.
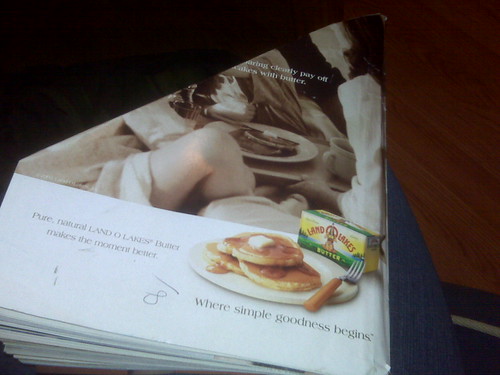 Next, take the "new" right corner and fold the page again into the spine of the magazine. Leaves you with a diamondy-upside down-ice cream cone shape. Fold that end triangle up into the page so that you'll have a nice flat surface for the tree to stand.
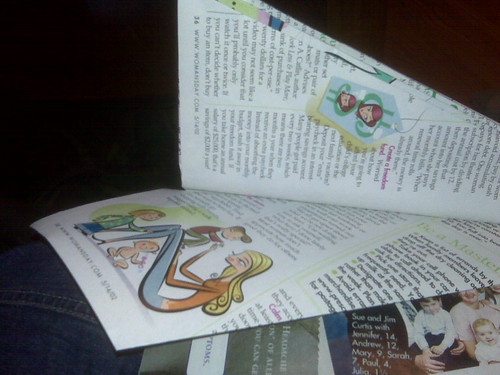 This is what it'll look like when you're done. Still needed something so I brushed a little modge podge onto the edges (which helped keep the ends closed) and sprinkled glitter on them....what's with glitter? Everything looks better with glitter!
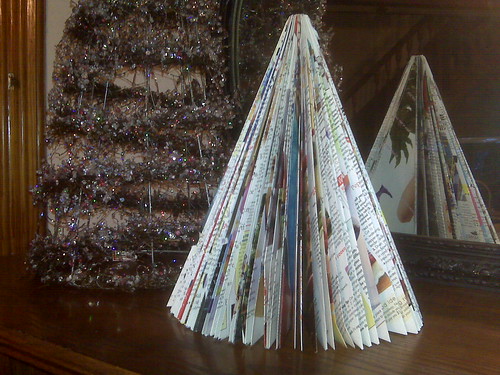 There you have it, I got 2 of these finished during a couple of Christmas specials....cheap and easy...and if I don't like them, I can just toss them without feeling guilty.



 We have a ton of little snow men outside now...all have been sufficiently marked by the dogs...why do they DO that!?!
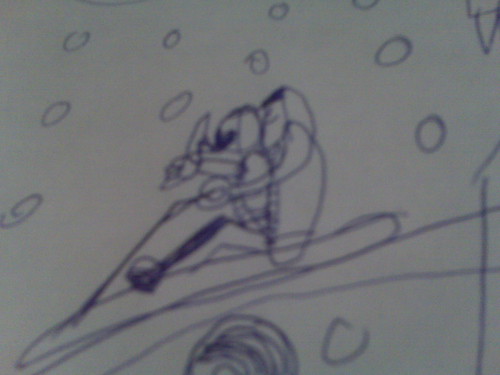
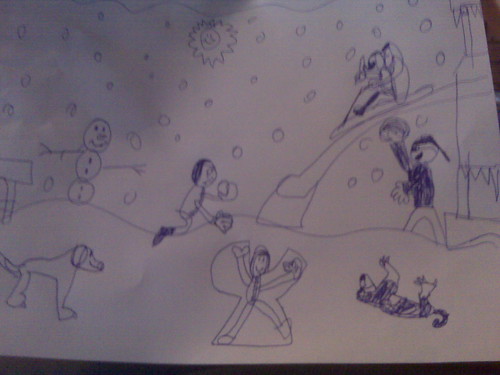 Daddy and Riley, smiling as they ride in a sled down the slide (yeah right)
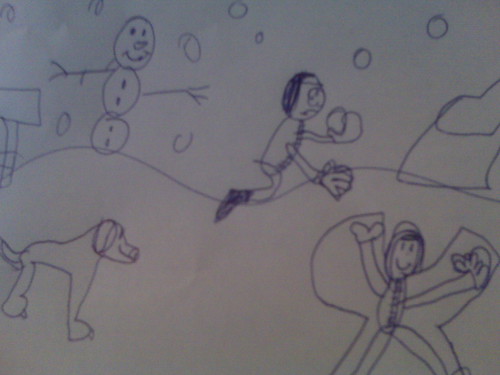
 a snow man, Jamie making a snow angel....wait....that's Corey with a frown and a snowball in his face! Who could have been so mean to do that?!?...
 Mom....throwing said snowball! (ok...I've never hit anyone in the face with a snowball...can you see the look on my face...ahahaha, I'll get you my pretty...what the heck Corey!)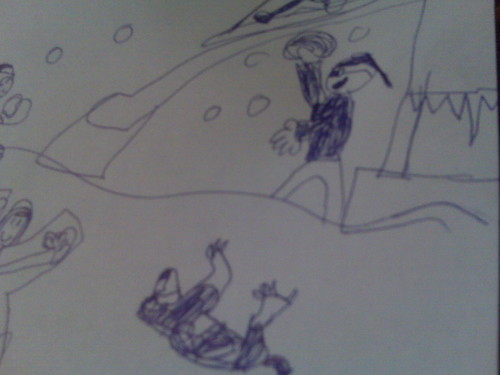

 ~one hugely helpful hint is to hot glue the tops of the ornaments on...these were so cheap that I probably could have gotten away without it...actually it was a pain in the butt because the glue smooshed up through the top of the hanger and my dad and I sat around for an hour picking glue out so that I could string them on!!!! (even then, I couldn't really shove them on the wire, so I used the fishing line hangers that came in the box...notice all the little strings and blobs of glue? Nice huh!)
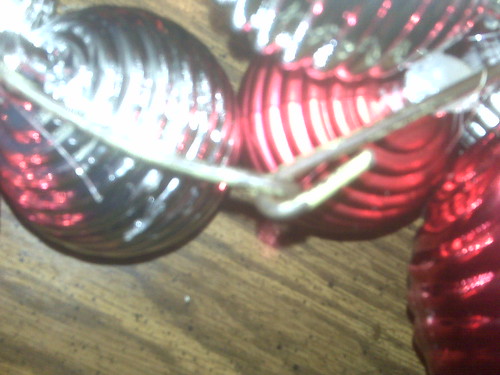 Super sucky picture, but hopefully you'll get the just of it: bend wire into a loop on one end, pull the other end through the loop and bend it into a loop...forming kind of a hooky loop thingy (yeah, I homeschool..hehehe).


 Posts
Posts


