
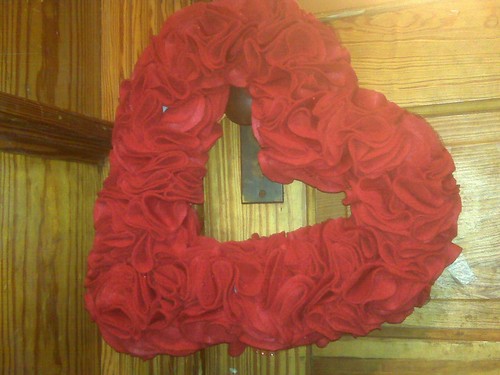
I saw this adorable wreath over at The Idea Room.
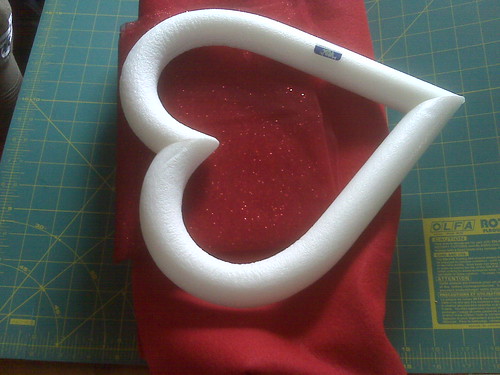 You start out with a styrofoam wreath form, felt (I bought 1 yd, but had plenty left over for another smaller project), and a box of round head pins. While getting the felt cut, I noticed a bolt of red glittery tulle on the table....I had to get it of course!
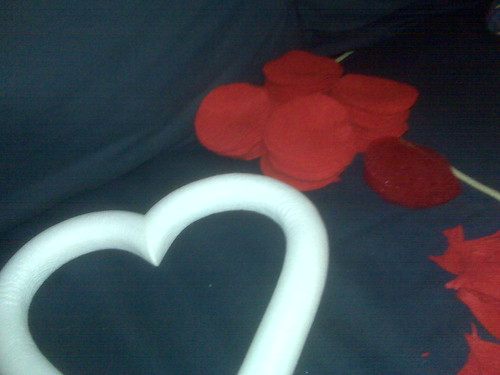 Cut out a million and a half 3" circles....I think it was more like 250, but still a TON. Then you just fold the circle in half, and then again so that it's a quarter circle. Every so often I'd lay a glitter circle on top of a felt circle before I folded it. Next you stick a pin in the felt and push it into the wreath.
 Keep going around forever and a day. I personally liked it better with the circles a bit more "fluffy"....but you can do whatever you like :)
Next up is redecorating my glass hutch doors from the pretty winter scene to one with this new wreath...hoping to find lots of good ideas over at Kimba's DIY Day


3 comments:
You must have the patience of Job to cut out all those circles! The finished product is very, very cute.
I saw that wreath too... you did a great job. I hope I get to make one before V-Day!
That is SO cool. I think even I could pull that off--I adore roses and flowers and never see anything I'd like to decorate with--but that is very sweet.
Post a Comment